 ImaraISP
Payment providers
Connect M-Pesa (Daraja), Paystack or cash, register the callback URL with Safaricom, and test the connection
Settings → Payment providers is "How your customers pay you. Add as many as you like; pick one default." A provider is a way money reaches you. Every workspace starts with a Manual (cash / bank) provider so cashiers can record money from day one. Add M-Pesa (Daraja) for STK push and Paybill, or Paystack for cards and mobile money.
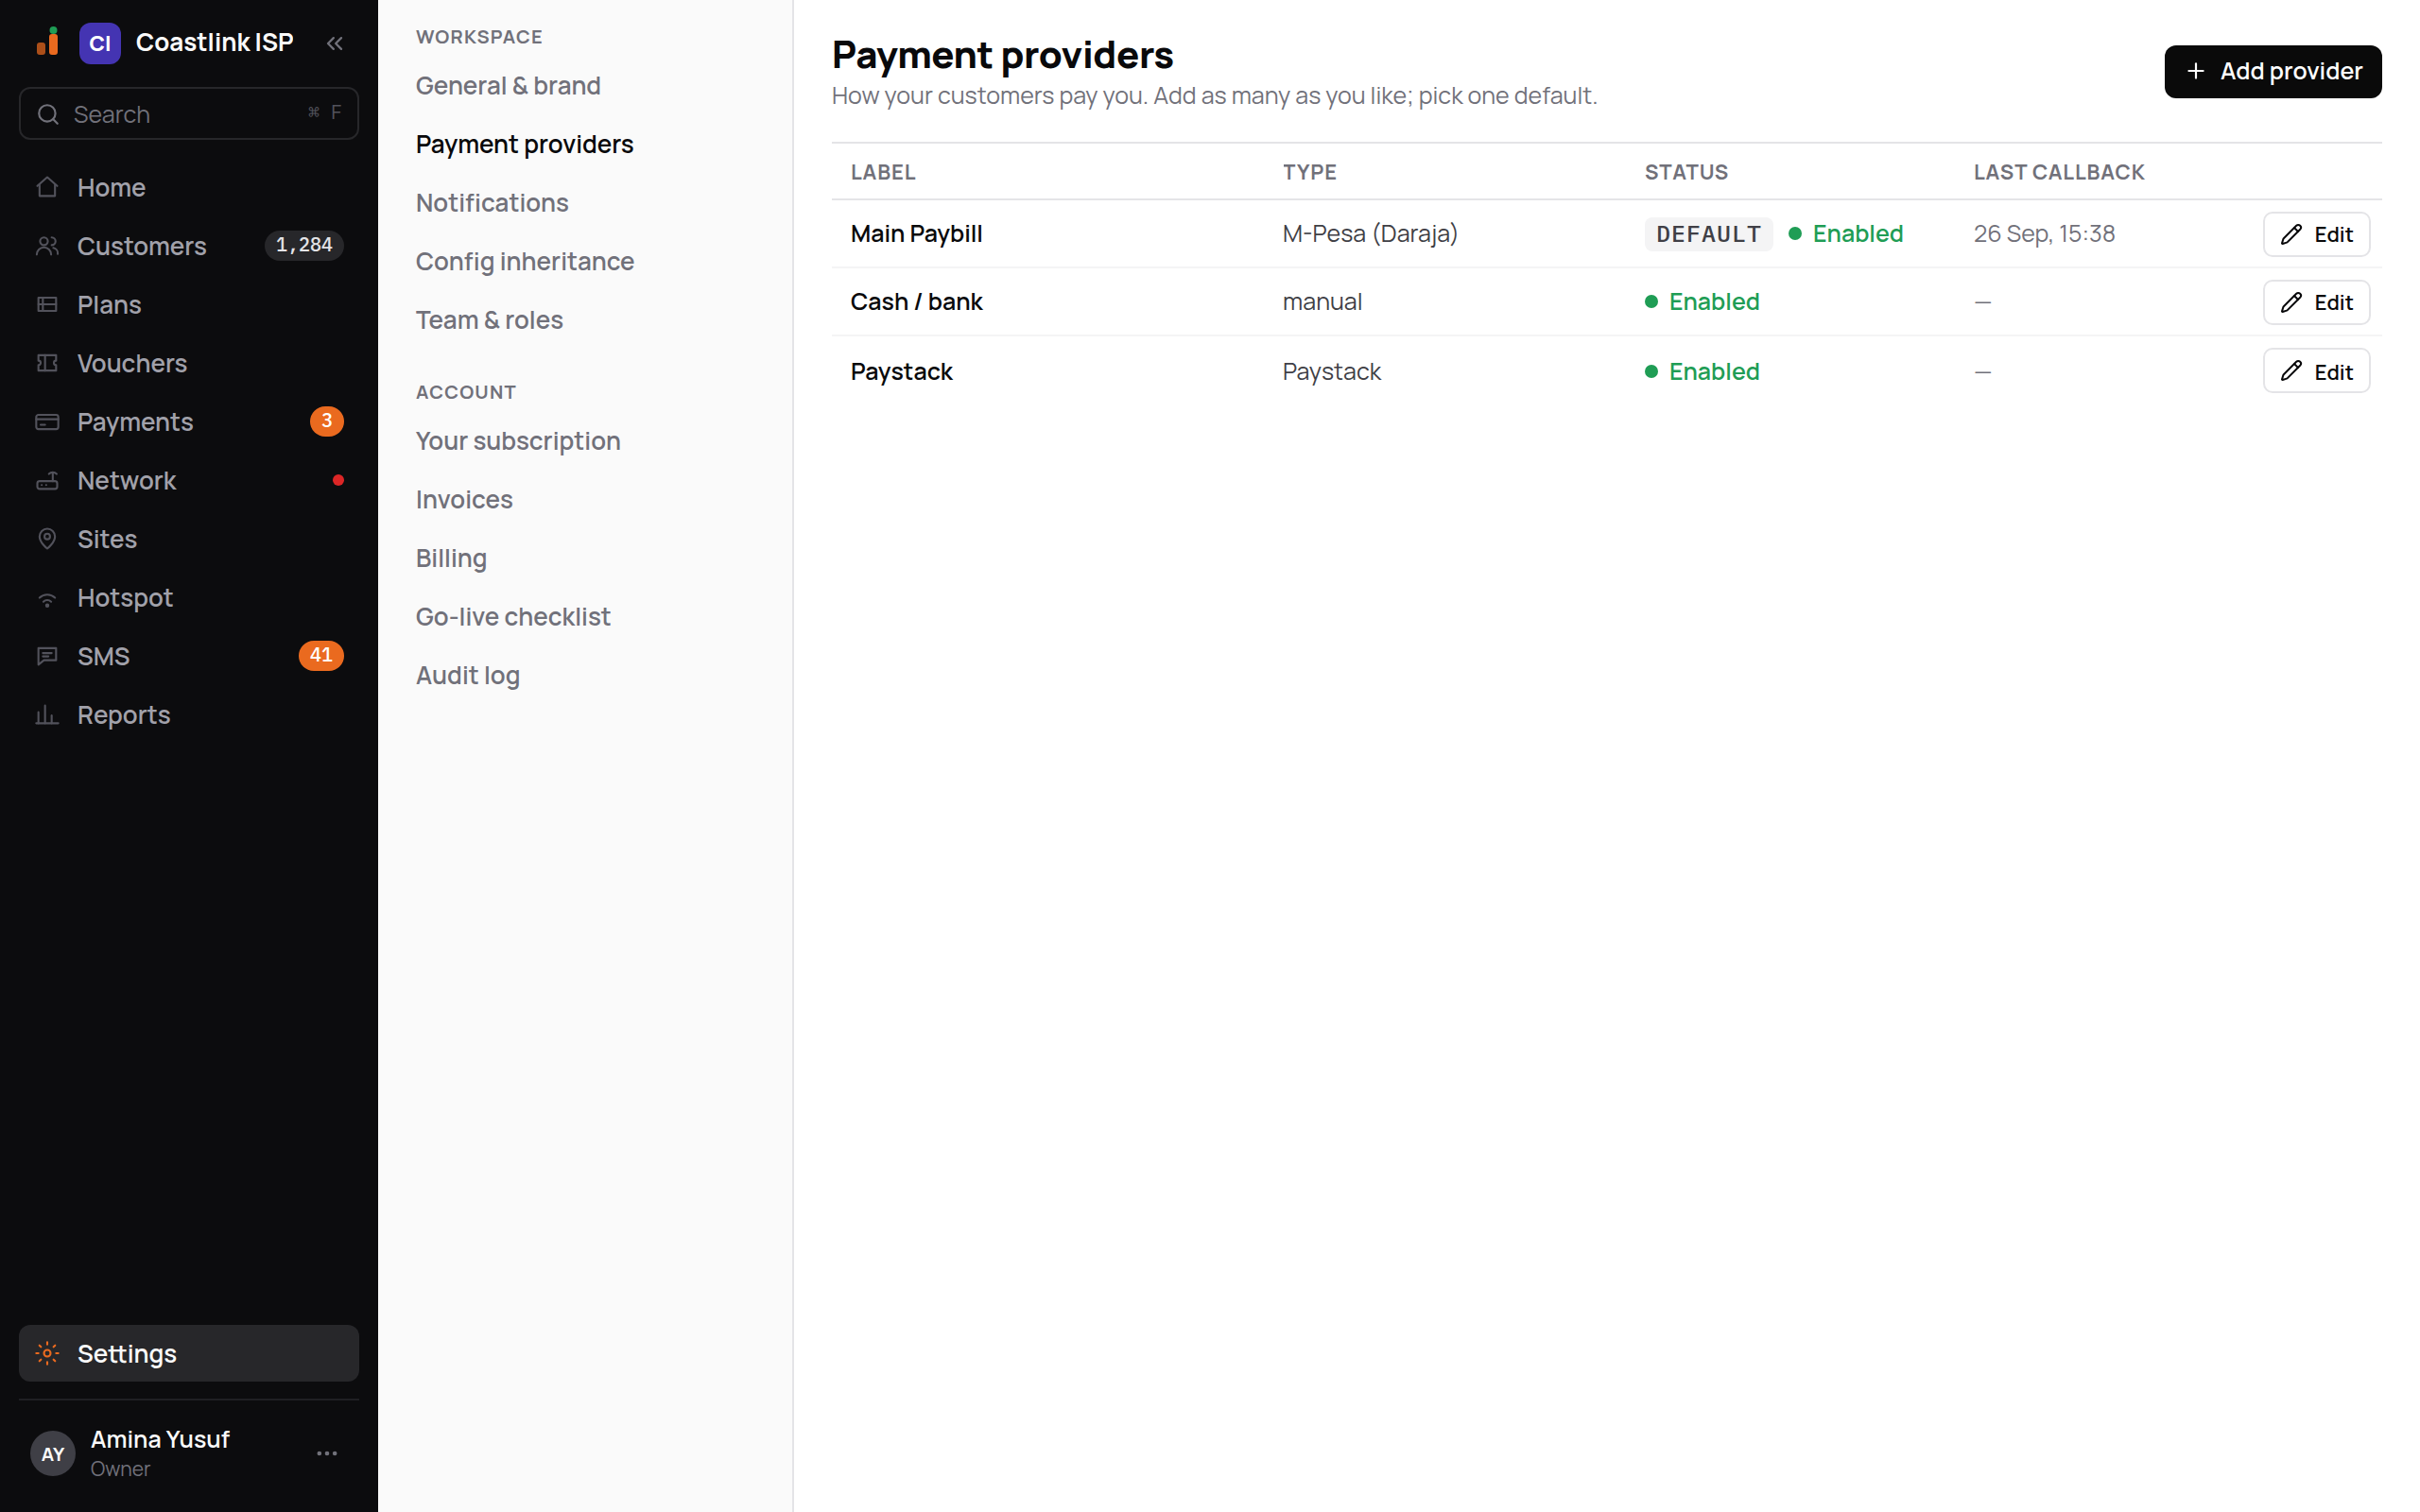
The list
| Column | Meaning |
|---|---|
| Label | The name you gave it, for example "Main Paybill" |
| Type | M-Pesa (Daraja), Paystack or Manual (cash / bank) |
| Status | Default tag on the provider Pay now uses first, then Enabled or Disabled |
| Last callback | When M-Pesa or Paystack last called your callback URL. A dash means never |
Empty state: "No payment providers yet. Add a provider to start taking payments." Only Owners can add or change providers; Ops and cashiers use them from Pay now.
Only providers that take your currency
Provider type offers only providers that can move money in your workspace's currency. M-Pesa (Daraja) takes KES only. Paystack takes NGN, GHS, KES, ZAR and USD. Manual (cash / bank) takes any currency. Adding or re-enabling a provider that cannot take your currency is refused with "M-Pesa (Daraja) does not support NGN" (your provider and currency in place of these).
Every payment is charged in your workspace's currency. If money reaches a provider in a different currency, it is not credited: the payment becomes UNMATCHED with the reason currency-mismatch and waits in the Payments queue for a cashier.
Add M-Pesa (Daraja)
Get your Daraja credentials
On the Safaricom Daraja portal create an app and note the Consumer key, Consumer secret and the Lipa na M-Pesa passkey for your Paybill or Till. Start on the sandbox if you want to test without real money.
Click Add provider
The panel "Add a payment provider" opens. Under Provider type choose M-Pesa (Daraja).
Fill in the fields
| Field | What to enter |
|---|---|
| Env | sandbox while testing, production when live. The platform talks to the matching Safaricom host |
| Shortcode | Your Paybill or Till number, for example 174379 on the sandbox |
| Passkey | The STK (Lipa na M-Pesa) passkey. Secret |
| Consumer key | From your Daraja app. Secret |
| Consumer secret | From your Daraja app. Secret |
| Shortcode type | paybill or till |
Click Save
The note beside the button reads "Secrets are stored encrypted and never shown again." After saving, secret fields show as masked dots. Editing later and leaving them masked keeps the stored values; type a new value to replace one.
Copy the callback URL
After the save the panel shows "Paste this URL into the provider as the Confirmation and Callback URL" with a Copy link. It has the form https://ipn.imaraisp.ke/{slug}/momoke/{token} (Daraja refuses addresses containing its own brand name, so the provider appears as momoke), where the slug is your workspace address and the token is unique to this provider. Give this URL to Safaricom as both the Confirmation URL and the Validation/Callback URL. The token identifies your workspace; keep it private.
Click Register C2B URLs
This registers the callback with M-Pesa for Paybill (C2B) payments. Success reads "C2B URLs registered with M-Pesa ✓". A failure shows Safaricom's own message; check the shortcode and environment.
Click Test connection
Success reads "Connected — credentials accepted." A failure names the field, for example "Invalid consumer secret. Check the Daraja portal and Change it." The button is disabled until the provider is saved: "Save the provider first — testing reads the stored config."
Once a real payment arrives the panel shows "Last callback received 24 Sep 08:12 ✓" and the list column fills in. If it stays empty after a live payment, the URL was not registered or the environment is wrong.
Sandbox versus production
Sandbox credentials only work with the Safaricom test shortcode and test phone numbers, and no money moves. When you switch Env to production, enter the production consumer key, secret and passkey; they are different from the sandbox ones. Register the C2B URLs again after switching.
Add Paystack
Choose Paystack as the provider type. Fields:
| Field | What to enter |
|---|---|
| Secret key | sk_live_… from your Paystack dashboard. Secret |
| Public key | pk_live_…. Not secret; after saving it is printed back with the hint "Paste this into your storefront / checkout — it is safe to expose." |
| The email on your Paystack account | |
| Channels | Which of card, bank, ussd, mobile_money, bank_transfer, qr and eft to offer. Defaults to card and mobile money |
Save, then paste the shown callback URL (https://ipn.imaraisp.ke/{slug}/paystack/{token}) into Paystack as the webhook URL, and click Test connection.
Manual (cash / bank)
The Manual provider has one field, Instructions, shown to cashiers on Pay now (for example "Count the cash before you issue a receipt."). It has no callback URL and nothing to test. Every cash or bank payment is completed by a cashier clicking Mark paid; there is no other way in.
What happens when money arrives
Whatever the provider, a payment is recorded once, matched to a service by its reference, marked PAID, and the service is extended and reconnected. A payment that cannot be matched becomes UNMATCHED and waits in the Payments queue; nobody's service is granted until a cashier matches it. See Payment states.
Hotspot walled garden
Each provider lists the hosts a hotspot subscriber must reach before paying (for M-Pesa, api.safaricom.co.ke and sandbox.safaricom.co.ke; Paystack has a longer list). These are added to the captive portal's walled garden when the provider is enabled so the payment page works before the subscriber is online.